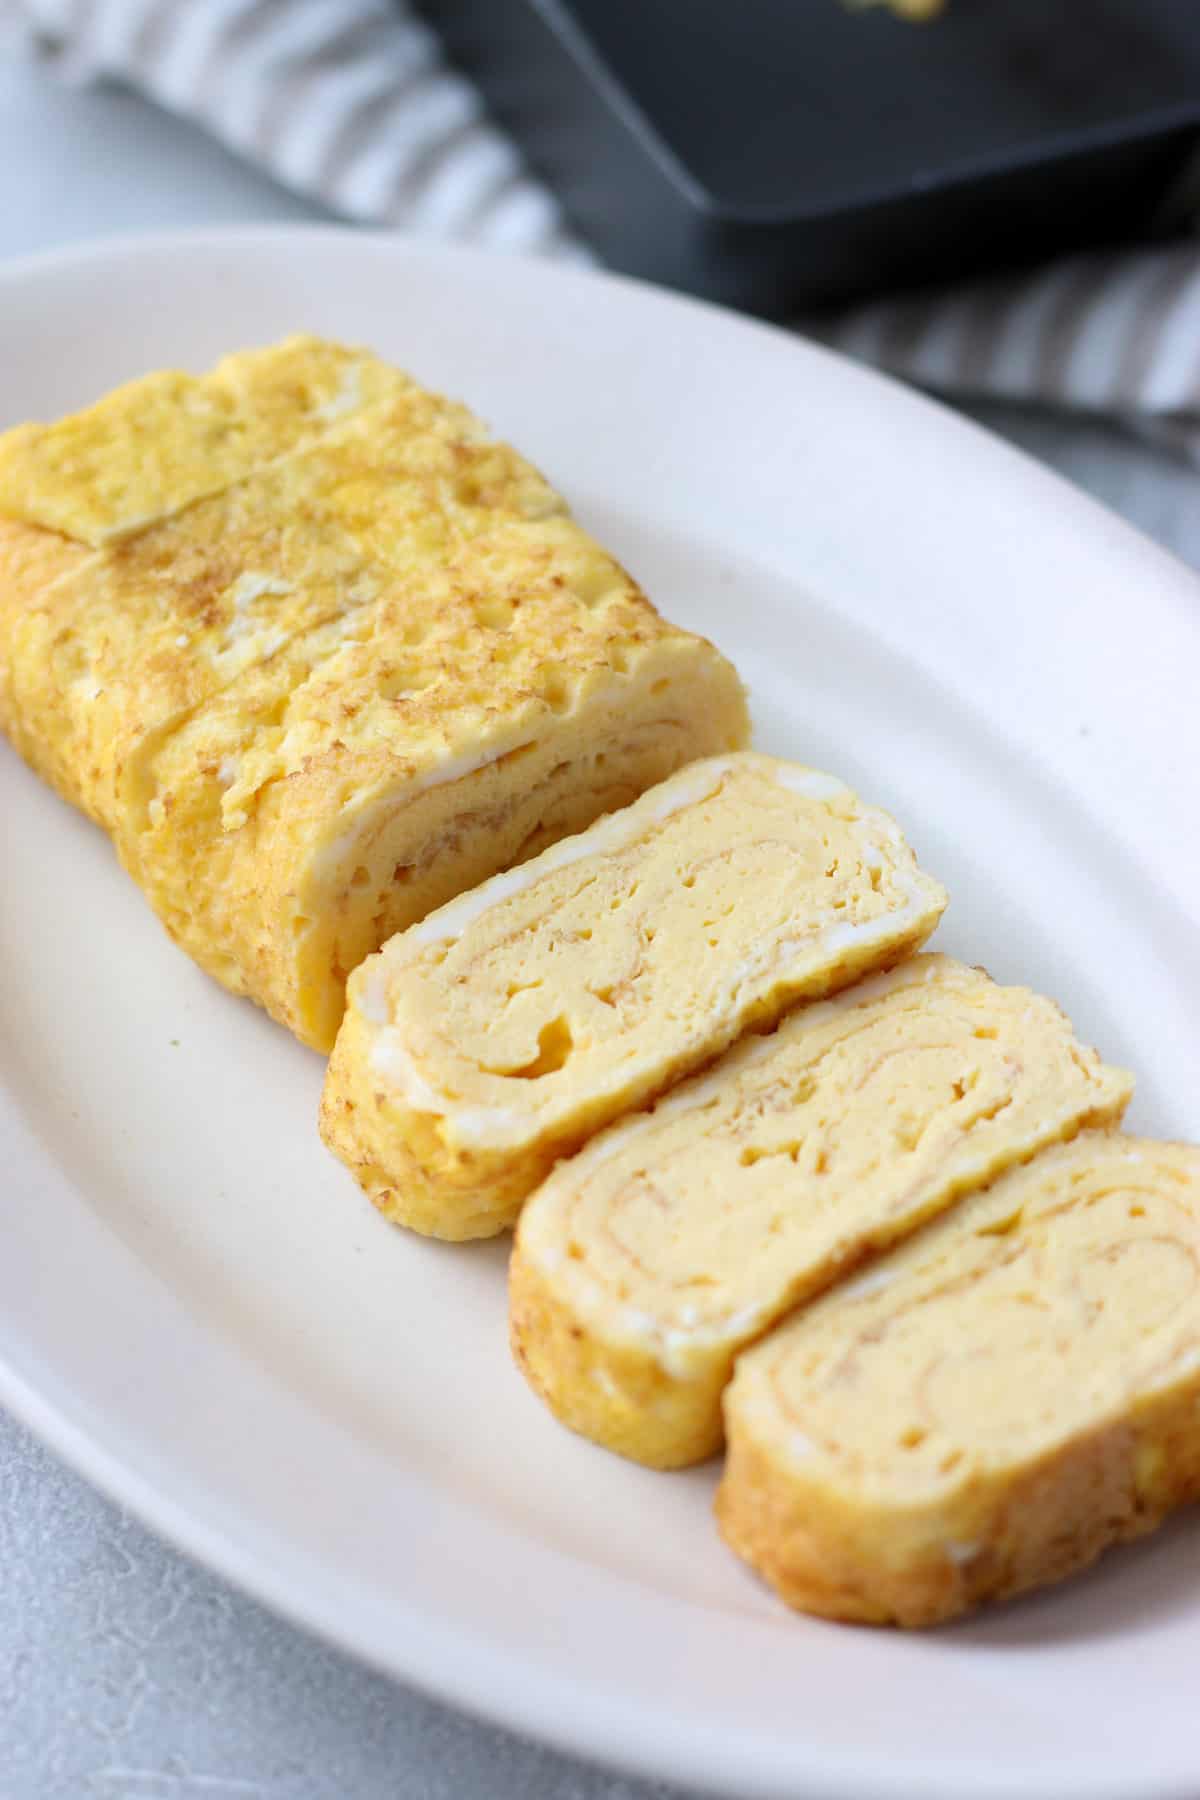
Sugar-Free Tamagoyaki (Japanese Rolled Omelet)
Learn how to make a non-sweet Tamagoyaki, a simple Japanese rolled omelet. This tasty egg dish is easy to prepare and perfect for breakfast, bento boxes, or side dishes!
Looking for more tamagoyaki recipes? Try my Nori Tamagoyaki or Tuna and Scallion Tamagoyaki!

I’ll walk you through the ingredients and step-by-step instructions. I hope you enjoy it!
Why You Will Love This Recipe
Recipe Ingredients
You’ll need the following ingredients to make this Tamagoyaki:

How To Make Tamagoyaki: STEP BY STEP
Here are some quick visual instructions! For the video and all the detailed ingredients and instructions, go to the printable recipe card below.

Step 1
Blend eggs with salt and soy milk, and strain the mixture through a sieve.

Step 2
Heat a tamagoyaki pan over medium heat and spread the oil.

Step 3
Pour 1/3 of the egg mixture into an entire pan (1st layer).

Step 4
Roll the egg from the front to the end of the pan and move to the front.

Step 5
Pour half of the egg mixture (2nd layer). Lift the egg and move the mixture under it.

Step 6
Roll the egg and pour the rest of the egg mixture (the third layer). Repeat the rolling process.

Transfer tamagoyaki to a plate and tweak the shape with a paper towel (or sushi mat if you have one). The fluffy, thick tamagoyaki rolls are ready! I hope you enjoy this tasty Japanese egg roll!
Special Tamagoyaki Pan

A rectangular or square pan is traditionally used to make tamagoyaki. There are three types of tamagoyaki pans to choose from:
How to Make Tamagoyaki in a Round Pan
While tamagoyaki is traditionally made in a rectangular pan, it is still possible to make it in a small frying pan. When cooking tamagoyaki in a round pan, the edges of the egg will typically be rounded. However, to create a more rectangular shape, you can fold the left and right ends of the egg slightly before rolling it.
Your Questions Answered
The taste of tamagoyaki can vary depending on the seasoning added to the egg mixture. Some people enjoy the simplicity and savory taste of tamagoyaki seasoned with salt or soy sauce, while others savor the sweetness of tamagoyaki prepared with sugar or mirin.
The word “Tamago” translates to egg, while “yaki” means fry.
Tamagoyaki can be enjoyed alongside a wide variety of dishes in Japanese cuisine. It is commonly served as a side dish, complementing steamed rice, miso soup, and a side of pickled vegetables to create a well-rounded and satisfying meal. Additionally, tamagoyaki is a popular inclusion in bento boxes.
Tamagoyaki can be enjoyed both warm and cold, depending on personal preference. Some people prefer the slightly warm and freshly cooked tamagoyaki, while others find the chilled version to be equally delicious. Feel free to try it both ways and see which one you prefer!
Dashi-maki is a variation of tamagoyaki. To make it, simply replace the soy milk with dashi stock, add a little soy sauce for flavor, and follow the same cooking method. This will give you a savory, flavorful dashi-maki tamago.

Want More Plant-Based Ideas?
Download 10 Vegetarian Recipes

More Japanese Egg Dishes You Will Love
Leave a Rating!
I hope you enjoy this Tamagoyaki! If you try it, don’t forget to leave a rating to share your thoughts—I love hearing from you!
Sugar-Free Tamagoyaki (Japanese Rolled Omelet)

Equipment
- 1 Tamagoyaki pan (13 x 18cm/5.1 x 7.1 inch), : If you don’t have one, you can use a small round pan. The shape won’t be square, but the ends will have a nice rounded finish.
Ingredients
Instructions
- Make the Egg Mixture: In a bowl, beat the eggs. Add salt and soy milk, then mix until well combined.
- Strain through a sieve: Strain the mixture through a sieve 2 to 3 times.
- Prepare the Pan: Heat a tamagoyaki pan over medium heat. Add a little vegetable oil and use a paper towel to wipe off any excess, leaving a thin coating.
- Cook the 1st Layer: Pour one-third of the egg mixture into the pan. When the surface is still slightly soft, but the bottom is cooked. Roll the omelet from the far edge toward you, then push it back to the far edge of the pan.
- Cook the 2nd Layer: Add a little oil if needed. Pour half of the remaining egg mixture into the pan, lifting the rolled omelet slightly to let the mixture flow underneath. Once the surface is almost set, roll the omelet again and move it to the back of the pan.
- Cook the 3rd Layer: Pour the rest of the egg mixture into the pan, repeating the same process as the second layer.
- Finish and Serve: Remove the tamagoyaki from the pan and let it cool slightly. Slice into even pieces and serve.
Video

Notes
- Storage: Store in the refrigerator for up to 3 days.
- Substitute: You can replace soy milk with any of your choice, such as oat or almond milk.
- Don’t worry if your first roll looks messy—you can fix it as you go.
- If the tamagoyaki loses its shape, cover it with a paper towel and gently reshape it.
- Avoid overcooking, as it will dry out. Roll the omelet while the surface is still a little soft.
- I use chopsticks to roll, but a rubber or silicone spatula can make it easier if you’re new to making tamagoyaki.
- Freshly made tamagoyaki is fragile, so let it cool slightly before slicing to avoid crumbling.
Nutrition
This nutritional information is estimated and provided for general reference only.


Juri Austin
Hi! I’m Juri, founder of Chef JA Cooks and the creator and photographer of this site. I’m here to guide you in authentic yet easy-to-follow Japanese recipes! Let’s explore the world of Japanese cuisine together!