Onigiri 101 (A Beginner’s Guide)
If you’ve ever wanted to make onigiri at home but weren’t sure where to start, you’re in the right place. This guide shows you what you need, easy ways to shape onigiri, and simple tips to make your first onigiri with confidence!

What Are Onigiri?
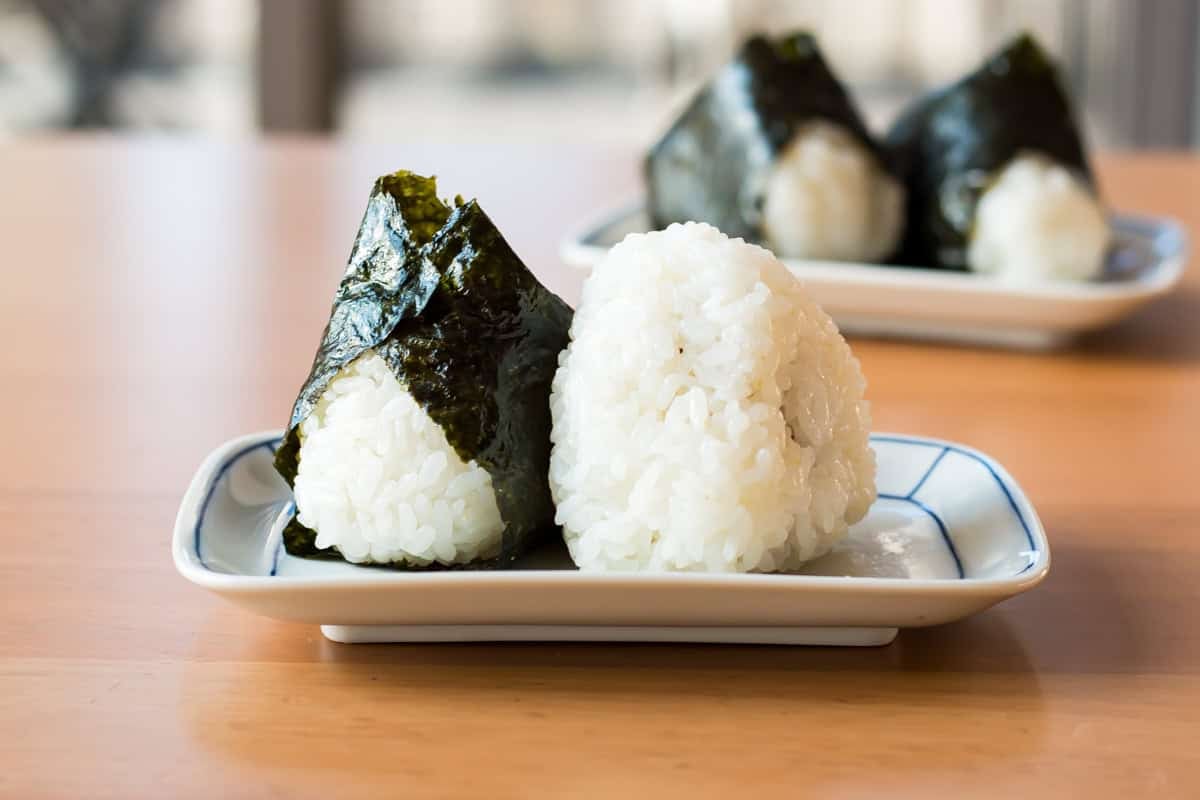
Let’s start with the basics. Onigiri are Japanese rice balls, usually shaped into triangles or rounds. They’re made with rice, a little salt, a filling in the center, and wrapped with nori (seaweed).

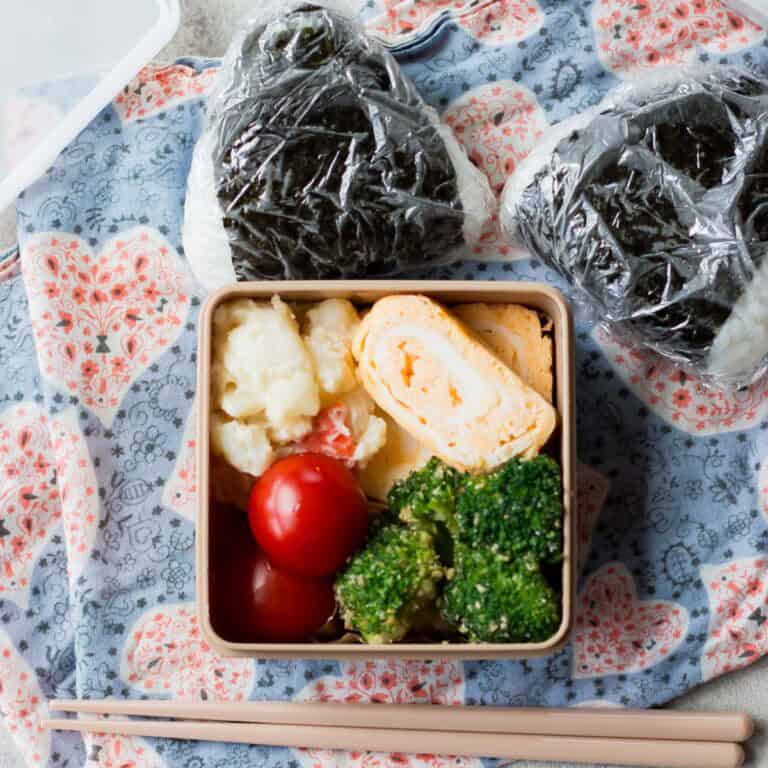
In Japan, onigiri are an everyday food. We pack them in bento boxes for school or work, grab them for a quick breakfast or lunch, and enjoy them as a light snack anytime.
What You Need to Make Onigiri
You don’t need anything complicated. Here are the basic ingredients.
Rice
Rice is the most important part of onigiri. The best rice for onigiri is Japanese short-grain rice. It’s naturally sticky and rich in starch, so it holds together well without falling apart. I recommend Koshihikari or any rice labeled sushi rice.

Salt
When shaping onigiri, you’ll use just a tiny bit of salt on your hands. Salt helps bring out the natural sweetness of the rice, and even a small amount makes a big difference in flavor. A mild, mineral-rich sea salt works best.
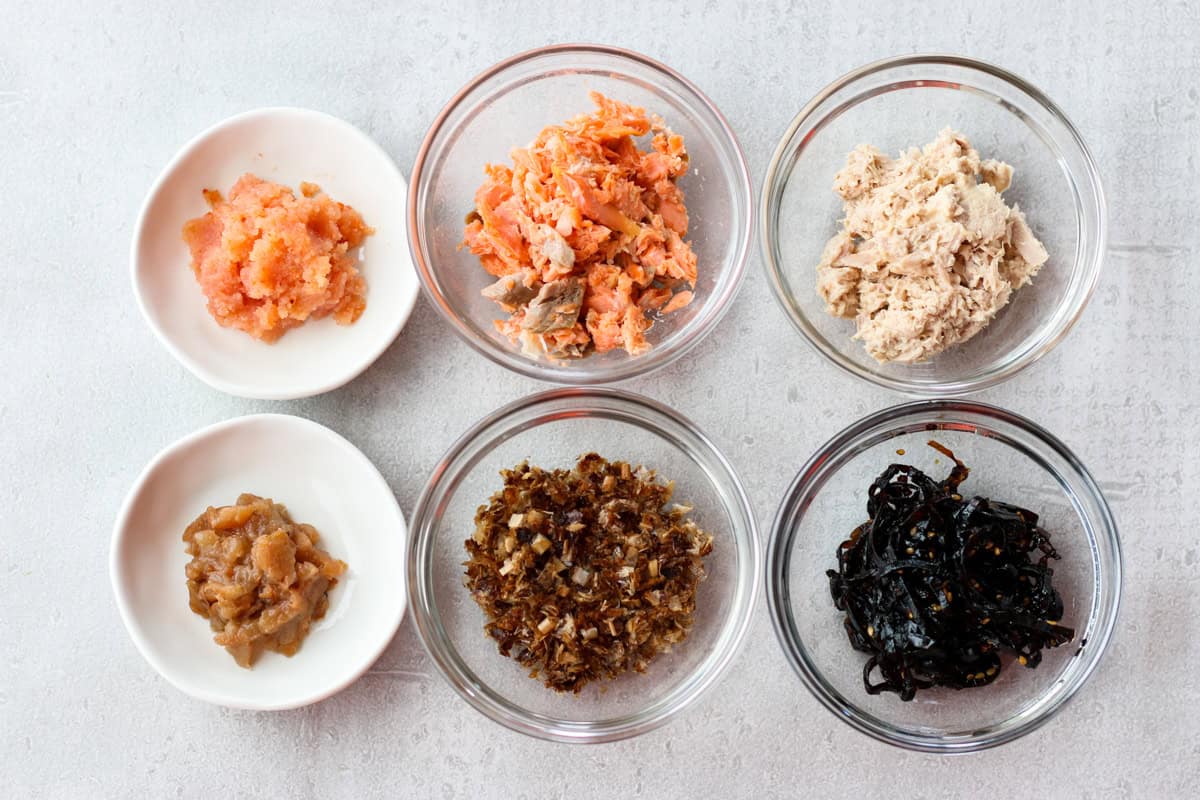
Filling
Filling is the fun part of onigiri. You can use many different ingredients, but some classic fillings include:
Nori
Nori is dried seaweed. After shaping the rice, wrap your onigiri in nori to add flavor and texture. It also makes the onigiri easier to hold while eating. If you can’t find nori or simply don’t like it, you can skip it. Onigiri can be made without nori and are still perfectly delicious.

How to Make Onigiri (2 Easy Ways)
Now let’s make onigiri. I’ll show you two simple methods:
Option 1: Shaping by Hand
If you’re eating onigiri right away, shaping by hand is a great option. It gives a nice, home-style texture and helps you season the outside evenly. Since you’ll be lightly wetting your hands as you shape the rice, keep a small bowl of water nearby.

(See the video above for a visual walkthrough.)
Steps:
- Scoop some rice into a bowl.
- Add your filling in the center, then cover it with a little more rice.
- Lightly wet your hands and rub a tiny pinch of salt between your palms.
- Gently shape the rice, using just 3–4 light presses and turns, until it holds together.
- Wrap with nori if you like, and it’s ready to eat.
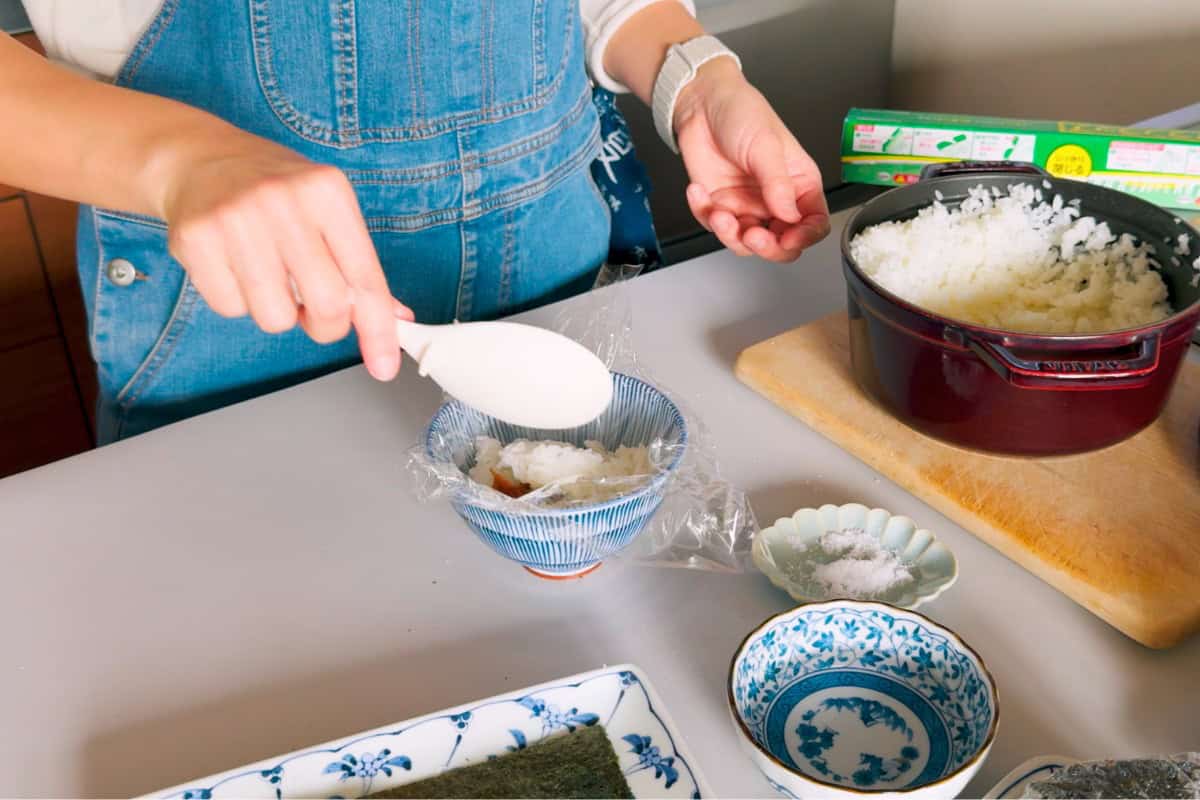
Option 2: Using Plastic Wrap
If you’re packing onigiri for later, plastic wrap is very helpful. It’s easier, cleaner, and more hygienic, especially in warmer weather.
(See the video above for a visual walkthrough.)
Steps:
- Place plastic wrap over a bowl.
- Add rice, your filling, and then a little more rice.
- Sprinkle a tiny pinch of salt on top.
- Gather the corners of the wrap and twist or pinch it closed.
- Gently shape the rice through the wrap.
- Once it holds its shape, unwrap it and wrap it with nori if using.
Helpful Tips
Here are a few simple tips to help you make onigiri successfully, even on your first try.
1. Use Warm Rice
Rice straight from the cooker can be too steamy and soft, making it hard to handle. Cold rice, on the other hand, loses its stickiness and is harder to shape.
Let the rice cool slightly, then shape it while it’s still warm, with a little steam rising. This helps the rice hold together better.
If using refrigerated leftover rice, reheat it before shaping.
2. Shape Gently
If you press the rice too tightly, the outside can dry out and crack. Gentle shaping allows the rice grains to stick together naturally as they cool.
3. Use an Onigiri Mold
If shaping feels tricky, an onigiri mold can really help. I use a couple of handy tools, shown below.

4. Drain Wet Fillings
Fillings like canned tuna often contain extra water or oil. If moisture leaks into the rice, it can make the onigiri fall apart more easily.
Always drain fillings well before using them.
5. When to Wrap the Nori
If you like crispy nori, wrap it right before eating. For bento, you can pack nori separately in a small bag.
If you like soft nori, you can wrap it ahead of time.
Storage & Packing
Onigiri are best enjoyed fresh, but if you’re packing them for bento or need to store them for later, follow these general guidelines:
Quick Recap
Now you know what you need, how to shape onigiri, and a few simple tips to avoid common mistakes.
Don’t worry about making them perfect. Try it once, and you’ll quickly get the feel for it. Onigiri are meant to be easy, everyday food, so have fun and give it a try!
Your Questions Answered
Yes, you can. If the rice is cold, reheat it until warm before making onigiri. Cold rice is harder to shape because it loses its stickiness.
Simple fillings like salmon, tuna, umeboshi (pickled plum), and simmered kombu are classic choices and easy to work with.
Often, there isn’t enough salt. Lightly salting your hands before shaping helps season the outside and brings out the rice’s natural sweetness. Using a seasoned filling can also help.
Common reasons include cold rice, too much filling, or uneven pressure when shaping. Use warm rice, add a modest amount of filling, and shape gently with even pressure.
Yes. Nori adds extra flavor to onigiri, but it’s optional. Onigiri made without nori are still delicious.
If you have more questions, feel free to leave a comment below!

Get All the Filling Ideas!
36 Fun and Flavorful Onigiri
Where to Go Next
If you’d like to keep exploring onigiri, here are some easy recipes and ideas to try next:
Leave a Comment!
I hope you enjoyed this post! Share your thoughts in the comments below!


Juri Austin
Hi! I’m Juri, founder of Chef JA Cooks and the creator and photographer of this site. I’m here to guide you in authentic yet easy-to-follow Japanese recipes! Let’s explore the world of Japanese cuisine together!